
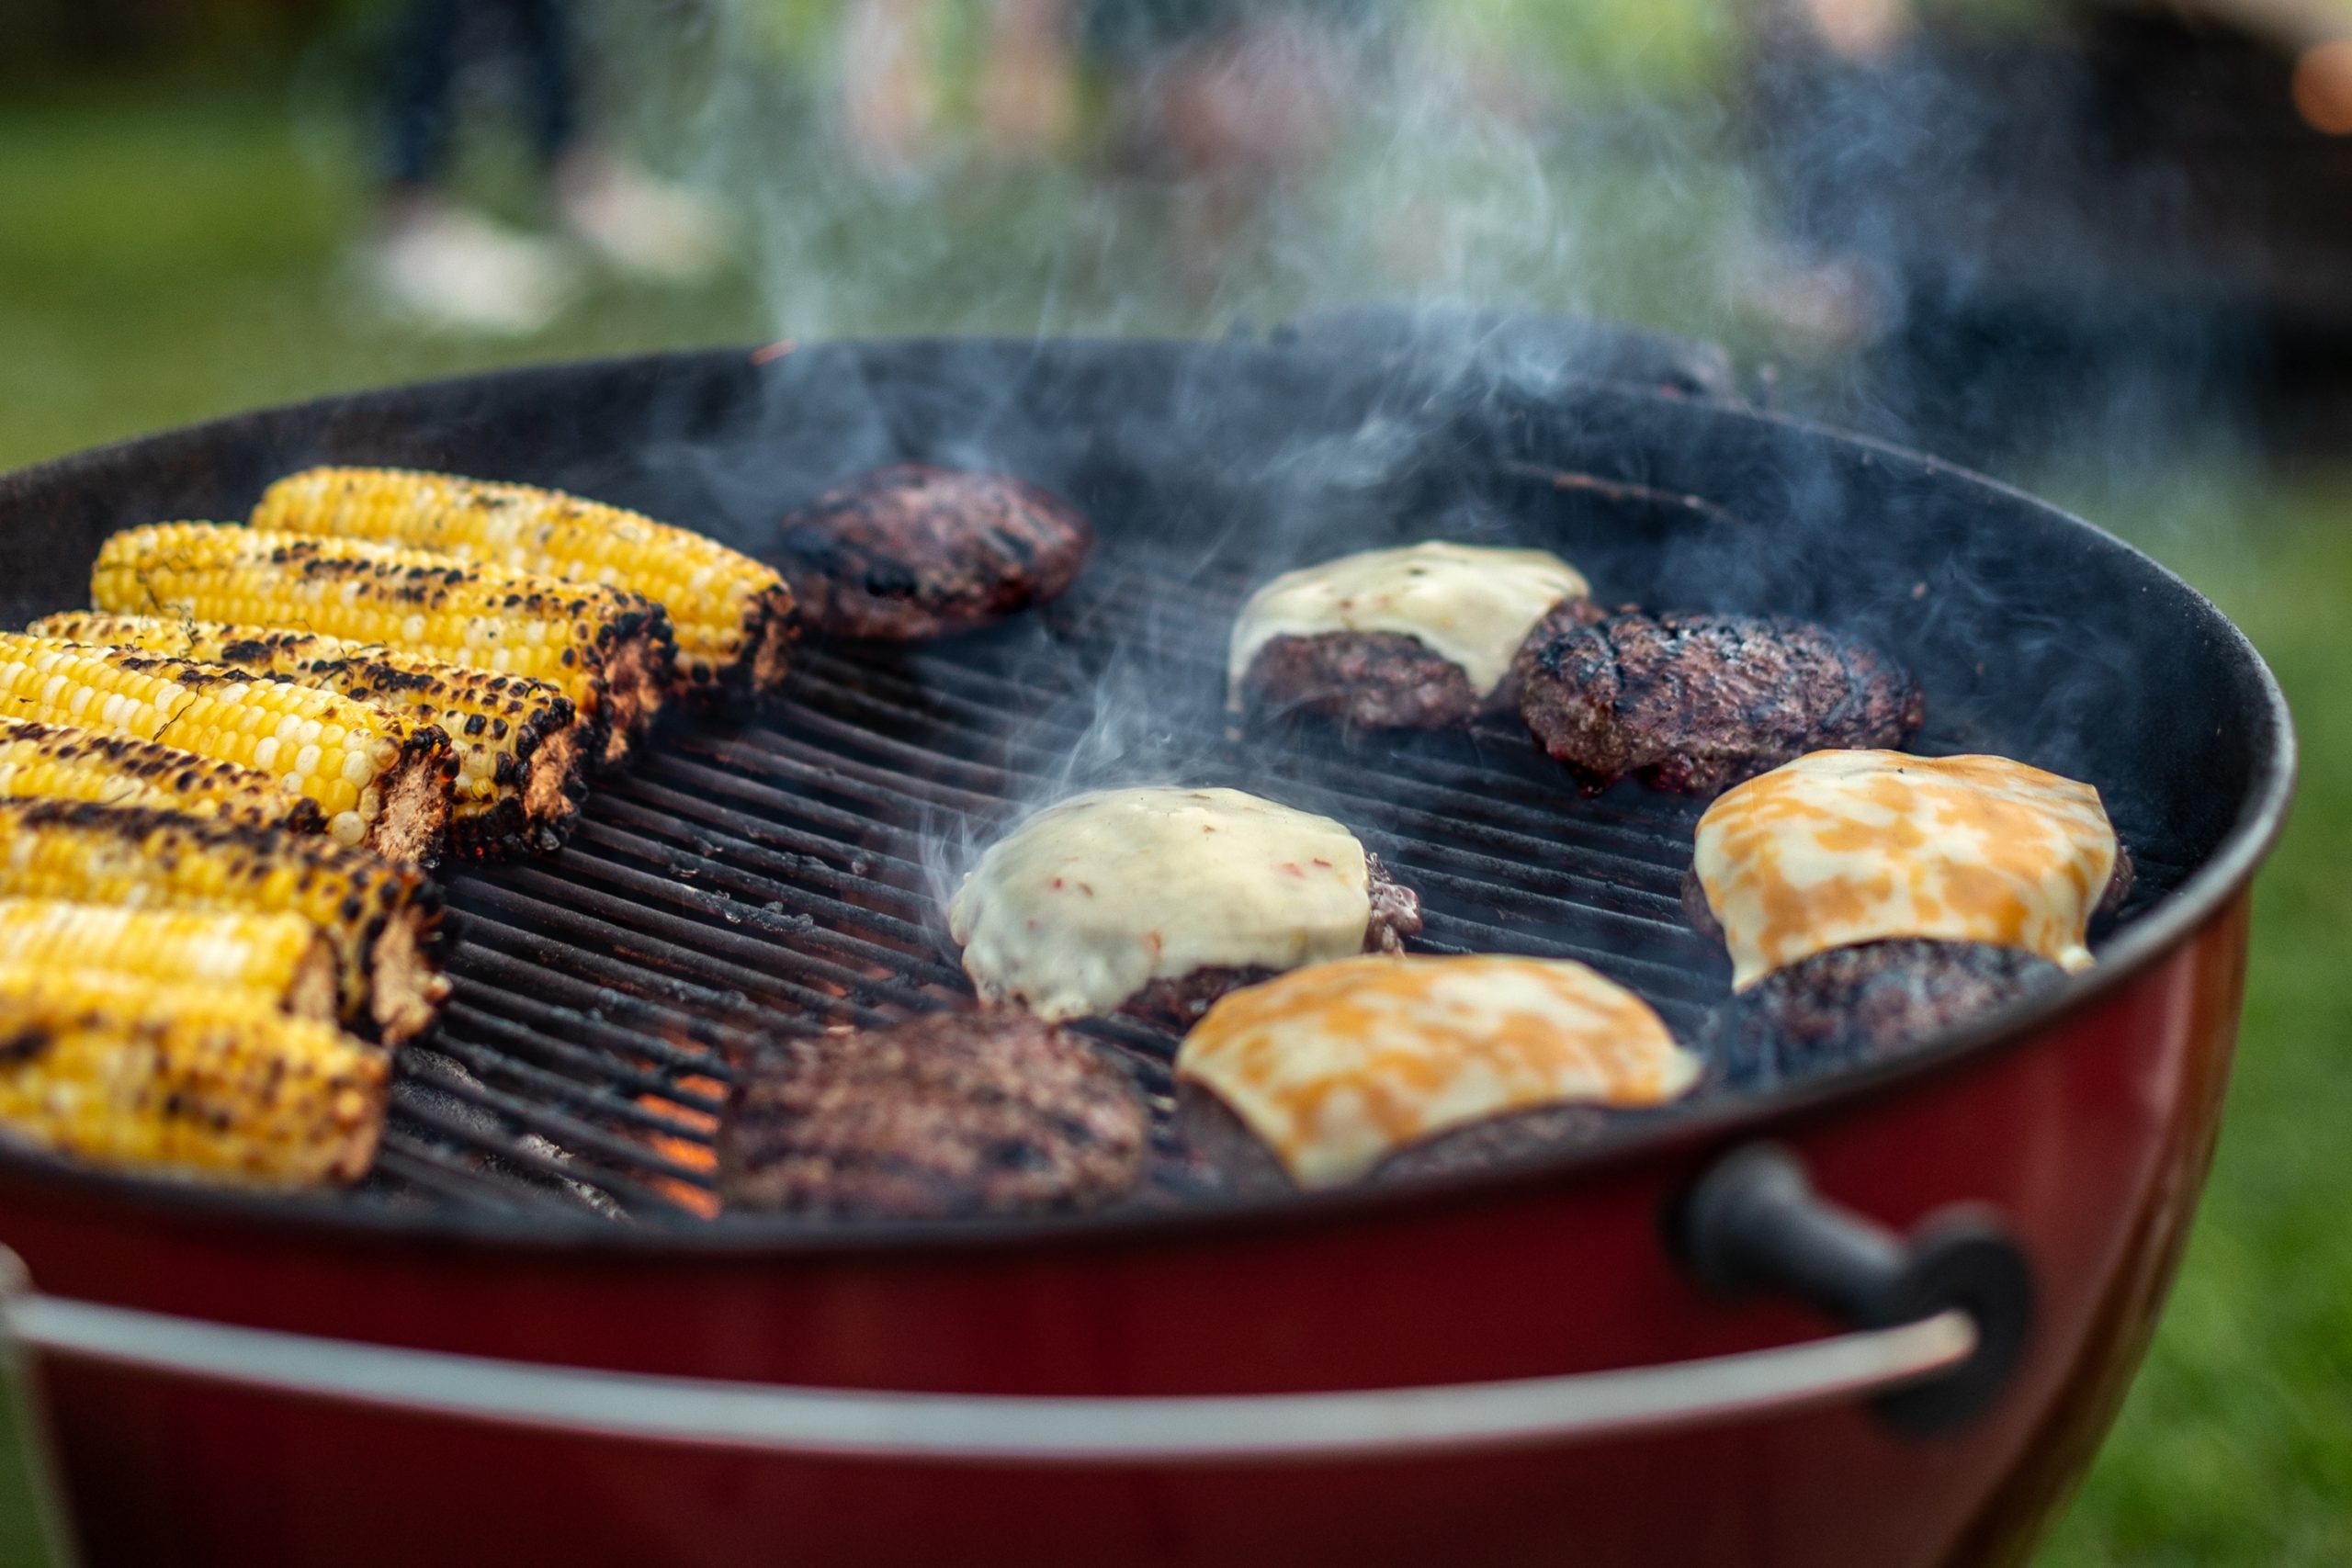
There’s something almost sacred about a perfectly grilled Burger; the charred exterior giving way to a juicy, flavorful interior, the slight resistance before that first bite, the way the juices mingle with melted cheese and condiments. It’s simple food turned into art! Yet for something so seemingly straightforward, grilling the perfect Burger causes many home cooks to stumble.
The difference between a mediocre Burger and an exceptional one often comes down to technique, not ingredients. You can start with premium beef, but if you press it, flip it constantly, or cook it at the wrong temperature, you’ll end up with a dry, disappointing patty that does a disservice to the meat.
The good news? Once you understand the fundamentals, it becomes second nature. Let’s break down everything you need to know to grill the perfect Burger.
Start With Quality: The Foundation of Great Burgers
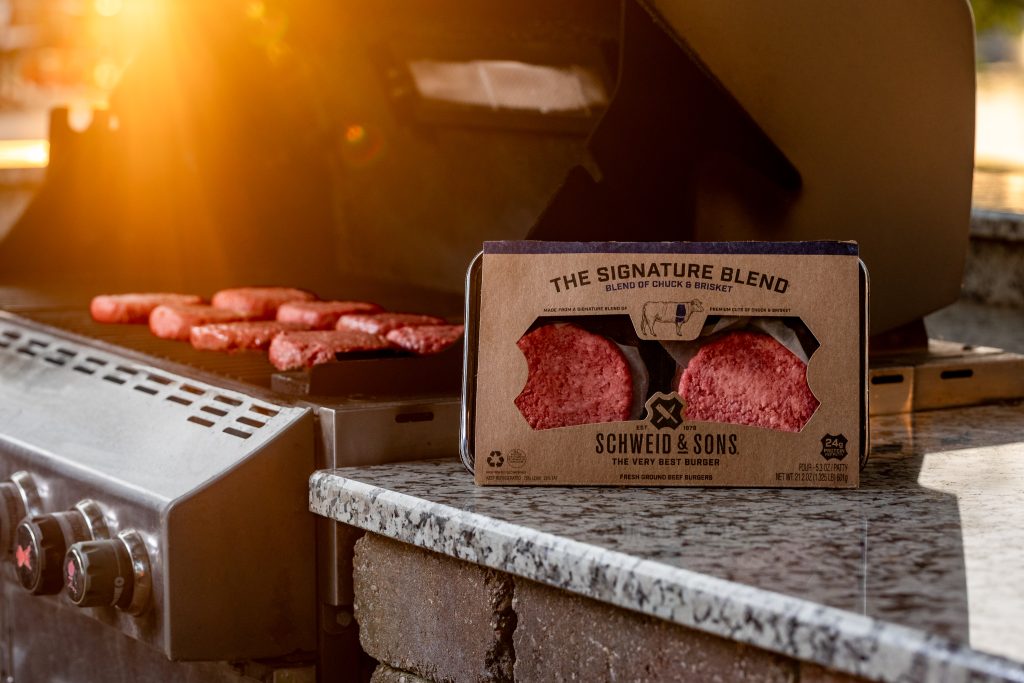
Before we even talk about technique, remember: your Burger is only as good as the beef you start with. Premium ground beef makes a noticeable difference in flavor, texture, and juiciness. Luckily, that’s where Schweid & Sons shines!
The ideal lean-to-fat ratio for Burgers is 80/20 (like The Butcher’s Blend) or 75/25 (like The Ribeye Blend), which means 80% or 75% lean meat to 20% or 25% fat. Why? Fat is where flavor lives! It’s also what keeps your Burger juicy as it cooks. Leaner beef (90/10 or 93/7) might seem healthier, but it results in dry, crumbly Burgers that lack the richness you’re craving.
The Cold Truth: Temperature Before Cooking
Here’s a tip that surprises many home cooks: keep your beef cold until the moment it hits the grill. While you might let a steak come to room temperature before cooking, Burgers are different. Cold beef holds its shape better during forming and maintains better texture during the initial sear.
Form your patties (or use Schweid & Sons pre-formed patties) and keep them refrigerated until your grill is properly preheated and you’re ready to cook. If you’re transporting them outside to the grill, place them on a plate over a bowl of ice. These 15-20 minutes of extra cold time can make a real difference in how well your Burgers hold together and how evenly they cook.
Shaping Matters: Form Follows Function
When forming or working with your patties, handle the meat as little as possible. Overworking ground beef develops the proteins too much, resulting in a dense, tough texture. Gently shape the meat into patties about ¾ to 1 inch thick and slightly wider than your buns (they’ll shrink as they cook).
We also suggest you create a shallow dimple in the center of each patty with your thumb. Burgers naturally puff up in the middle as they cook due to protein contraction. The dimple compensates for this, ensuring your Burger cooks evenly and doesn’t turn into a meatball. The indent should be about ½ inch deep and span most of the patty’s surface.
Season generously with salt and pepper just before grilling, not while forming. Salt draws out moisture, and you want that moisture staying inside the beef until it hits the heat.
What is the Perfect Grill Temperature? High Heat is Your Friend
One of the biggest mistakes home cooks make is grilling Burgers over medium or medium-low heat. This is a recipe for dry, gray Burgers that take forever to cook and never develop that coveted crust. Instead, to cook the perfect Burger, you want the grill to be scorching hot.
Preheat your grill to high heat, around 450-500°F for gas grills. For charcoal, you want the coals glowing orange-red with a light coating of ash. High heat creates the Maillard reaction, which is the beautiful browning and complex flavor development that makes grilled food taste so good. It also sears the exterior quickly, creating a crust that helps seal in juices.
Clean and oil your grill grates before cooking to prevent sticking. Use tongs and a folded paper towel dipped in vegetable oil to wipe down the grates once they’re hot.
The Big Mistakes That Ruin Burgers
Now let’s talk about what NOT to do, a.k.a. the common errors that turn premium beef patties into disappointing dinners.
🚨Mistake #1: Flipping Too Often
You’ve seen it at every backyard barbecue: the grill master constantly flipping Burgers, moving them around, checking them every 30 seconds. STOP. Every time you flip a Burger, you interrupt the searing process and release heat.
The rule is simple: flip once, maybe twice maximum. Place your Burger on the hot grill and leave it alone for 3-5 minutes. Let it develop a proper crust. Then flip it once and cook the other side. That’s it. Resist the urge to fidget.
🚨Mistake #2: Pressing the Patties
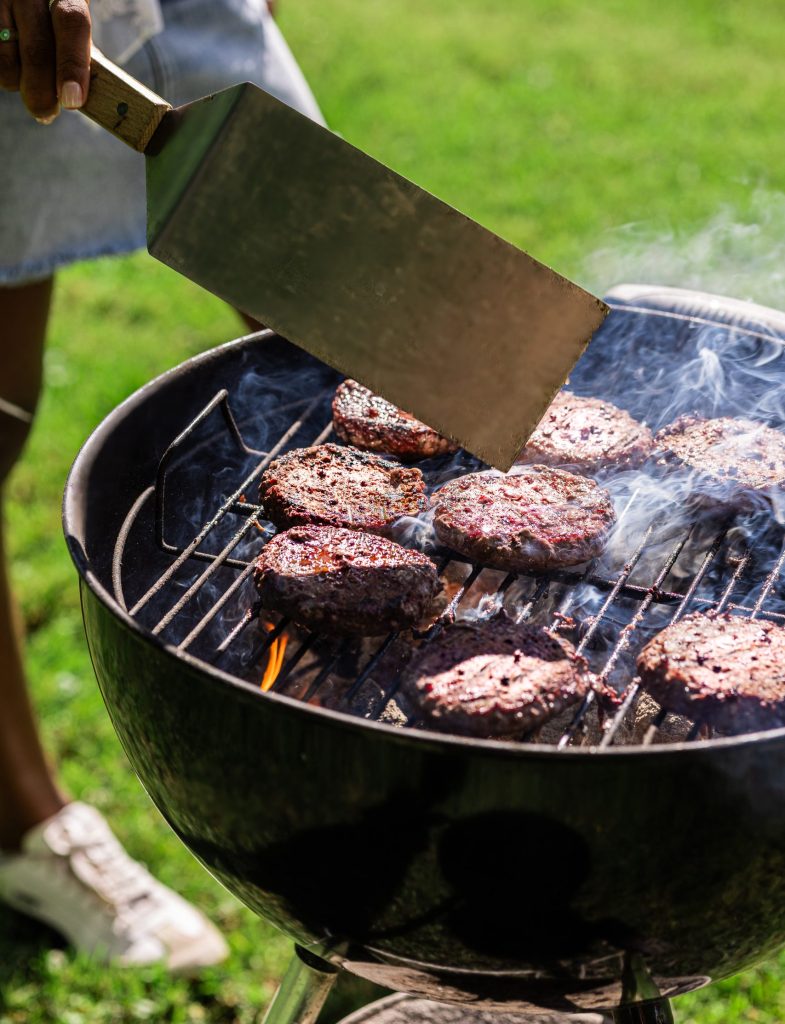
This might be the most tragic error of all. You’ve seen people do it, pressing down on Burgers with a spatula, watching the juices and fat sizzle onto the coals, thinking they’re somehow improving the sear or speeding up cooking.
Never, ever press your Burgers (unless you’re making Smashburgers!). When you press down, you’re literally squeezing out the flavorful juices and fat that make Burgers delicious. Those juices hitting the flames might create an impressive flare-up, but what you’re really doing is creating a dry, less flavorful Burger. Let the heat do its job without interference.
🚨Mistake #3: Cooking Too Low and Too Long
As mentioned earlier, low heat and long cooking times are the enemy of juicy Burgers. Low and slow is for brisket, not Burgers. When you cook Burgers over insufficient heat, the fat renders out before the exterior can properly sear, leaving you with a dry, gray patty.
High heat and relatively quick cooking preserve juiciness while developing flavor. A properly cooked Burger should take 7-11 minutes total, not 20.
🚨Mistake #4: Cutting Into Burgers to Check Doneness
We get it, you want to make sure your Burger is cooked properly. But cutting into it to check releases all those precious juices you’ve worked so hard to preserve. An instant-read meat thermometer is your best friend!
The Doneness Guide: The Perfect Burger Temp
The only reliable way to know when your Burger is done is to use an instant-read meat thermometer. Here’s the complete guide:
- Rare: 120-125°F. A rare Burger has a cool, red center. The exterior is seared, but the inside is still quite raw. This is for true rare-beef enthusiasts only.
- Medium-Rare: 130-135°F. This is where many Burger purists land. The center is warm and pink, the juices run red-pink, and the texture is incredibly tender. Maximum juiciness lives here.
- Medium: 140-145°F. A medium Burger has a warm, pink center with clear juices. It’s still juicy with good texture, a perfect balance for most people who want their Burger cooked through but not dry.
- Medium-Well: 150-155°F. The center shows just a hint of pink with mostly clear juices. The texture is firmer, and you’re starting to sacrifice some juiciness, but it’s still acceptable.
- Well-Done: 160°F and above. Cooked all the way through with no pink. Note that this is the USDA’s recommended safe temperature for ground beef. At this temperature, you’ll lose some juiciness, which is why starting with 80/20 or 75/25 beef is so important; the extra fat helps maintain moisture even when fully cooked.
How to Use a Meat Thermometer Correctly
Insert the thermometer through the side of the Burger, parallel to the grill grates, aiming for the center. This gives you the most accurate reading of the thickest part without going all the way through. If you insert from the top, you risk the probe going through the Burger and touching the hot grill grate, which will give you a false high reading.
The side-insertion method keeps the probe in the meat and gives you true internal temperature. Check your Burgers about 2-3 minutes before you think they’ll be done. Carry-over cooking will cause the temperature to rise 2-5ºF during the resting period.
The Resting Period: Patience Pays Off
Once your Burgers reach the desired temperature, resist the urge to serve them immediately. Transfer them to a clean plate and let them rest for 3-5 minutes.
During cooking, the heat drives juices toward the center of the Burger. Resting allows those juices to redistribute throughout the meat. Cut into a Burger immediately after cooking, and you’ll see all those juices run out onto the plate. Let it rest, and they stay where they belong—in your Burger.
Use the resting time to toast your buns on the grill (buttered side down for 30-60 seconds), gather your toppings, and refresh your well-earned beverage.
Bonus Tips for Next-Level Burgers
- Cheese Timing: If you’re adding cheese, place it on the Burger during the last minute of cooking and close the grill lid to help it melt perfectly.
- Basting: For extra flavor, brush Burgers with melted butter, garlic butter, or even bacon fat during the last minute of cooking.
- The Two-Zone Method: Set up your grill with a hot direct-heat zone and a cooler indirect-heat zone. Sear Burgers over direct heat, then move them to indirect heat to finish cooking. This prevents burning while ensuring thorough cooking.
- Don’t Overcrowd: Leave space between Burgers on the grill for proper air circulation and even cooking. Crowding lowers the grill temperature and creates steam instead of sear.
- Quality Control: If you’re cooking multiple Burgers to different temperatures, use a system to keep track—toothpicks in different positions, different plates, or even writing on the buns with food-safe markers.
Putting It All Together
Making the perfect Burger isn’t complicated, but it does require attention to detail and respect for the process. Start with quality 80/20 or 75/25 beef. Keep it cold until cooking. Form patties gently with a dimple in the center. Preheat your grill to high heat. Season generously. Place Burgers on the grill and leave them alone—no pressing, minimal flipping. Use a thermometer inserted from the side to check doneness. Let them rest before serving.
Master these fundamentals, and you’ll be grilling Burgers that rival any restaurant. The kind of Burgers that make people stop mid-conversation for that first bite. The kind that have neighbors “casually” dropping by when they smell your grill going. The kind that turns a simple weeknight dinner into something worth remembering. Now fire up that grill and show those Burgers the respect they deserve!!!
The Perfect Burger Recipes To Whet Your Appetite
Now that you understand how to grill a perfect Burger, here are some of our favorite flavor combinations to get you started!
- Perfect Burger Seasoning Blends
- American Classic Cheeseburger
- Bacon Cheddar Burger
- BBQ Onion Ring Burger
- California Burger
- Hatch Green Chili Burger
- Hot Wings Burger
- Mexican Burger
- Mushroom Blue Cheese Burger
- Philly Cheesesteak Burger
- Pizza Burger
- Smoked Gouda Stuffed Burger
- The Classic Hamburger
- The Korean Inspired Burger
- The Spicy Hawaiian Burger

- What’s your secret to grilling the perfect Burger? Tag Schweid & Sons on Instagram using @schweidandsons or #schweidandsons and let us know in the comments!
- Find all of the available Schweid & Sons premium ground beef blends here.
- Look for Schweid & Sons ground beef at your local grocer using our store locator linked here.
- Sign up for the Schweid & Sons email newsletter for all the latest recipes and ground beef news.